
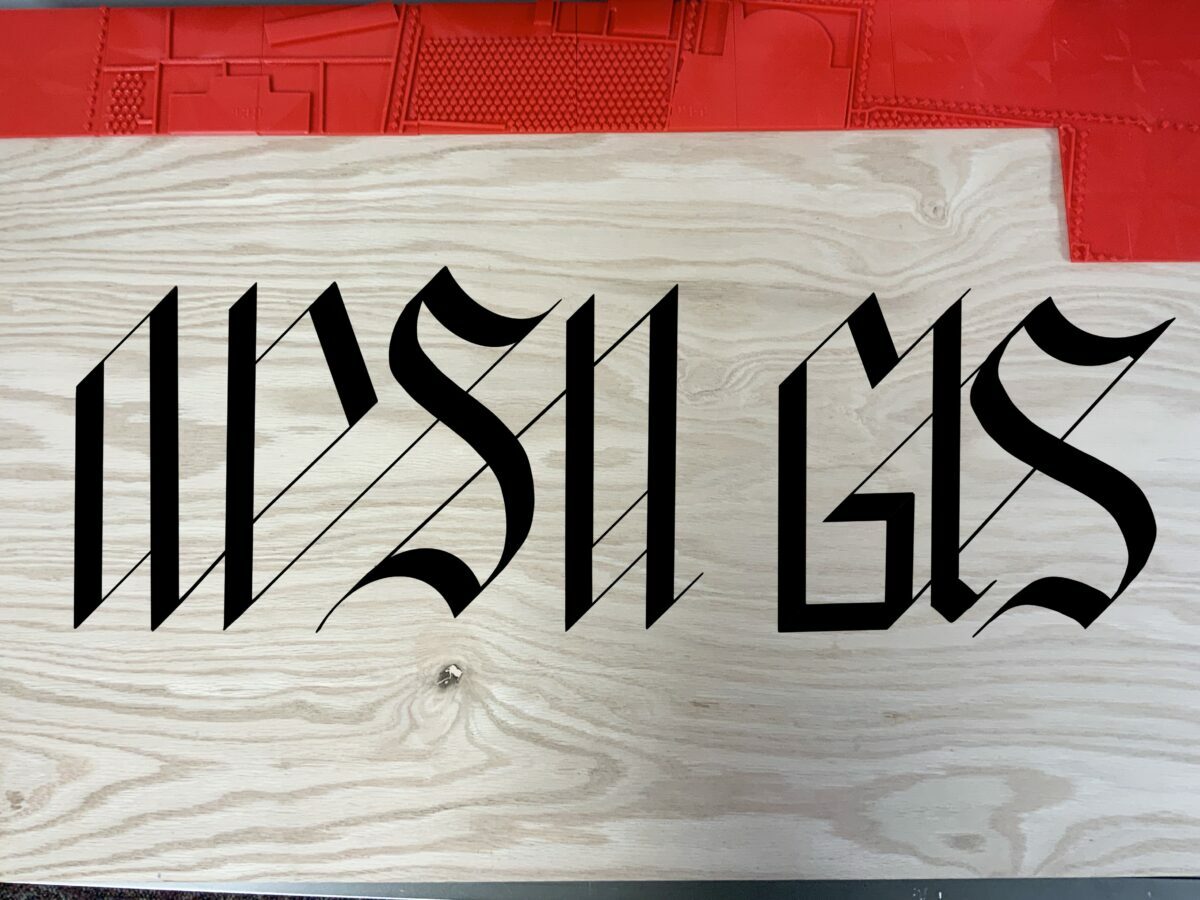
As a person with sight, the idea of being placed in a new and unusual environment is daunting enough. Now imagine having a disability that limits your ability to see where you are at. That is the problem that Jamie McCrary of Disability Services came to us with. There are students at APSU that have limited to no vision. We aim to provide tools that give them self-reliance and the confidence to maneuver through campus on their own.
This begs the question: How do I design a map that will fulfill this task? To Google! They have the answers to nearly all of my problems. The first step of any project is to research the tools for the task and the resources you’ll need. We found a quick and easy solution to this problem at Touch Mapper an open source tactile mapper that will make a file for you to 3D print or print them for you.
What are the challenges? There always seems to be a few hiccups in any new project. One: How do I identify the buildings? Two: Roads are very hazardous and should be shown. Three: Large walkways are not shown and will be empty places within the design. Four: Actually printing it.
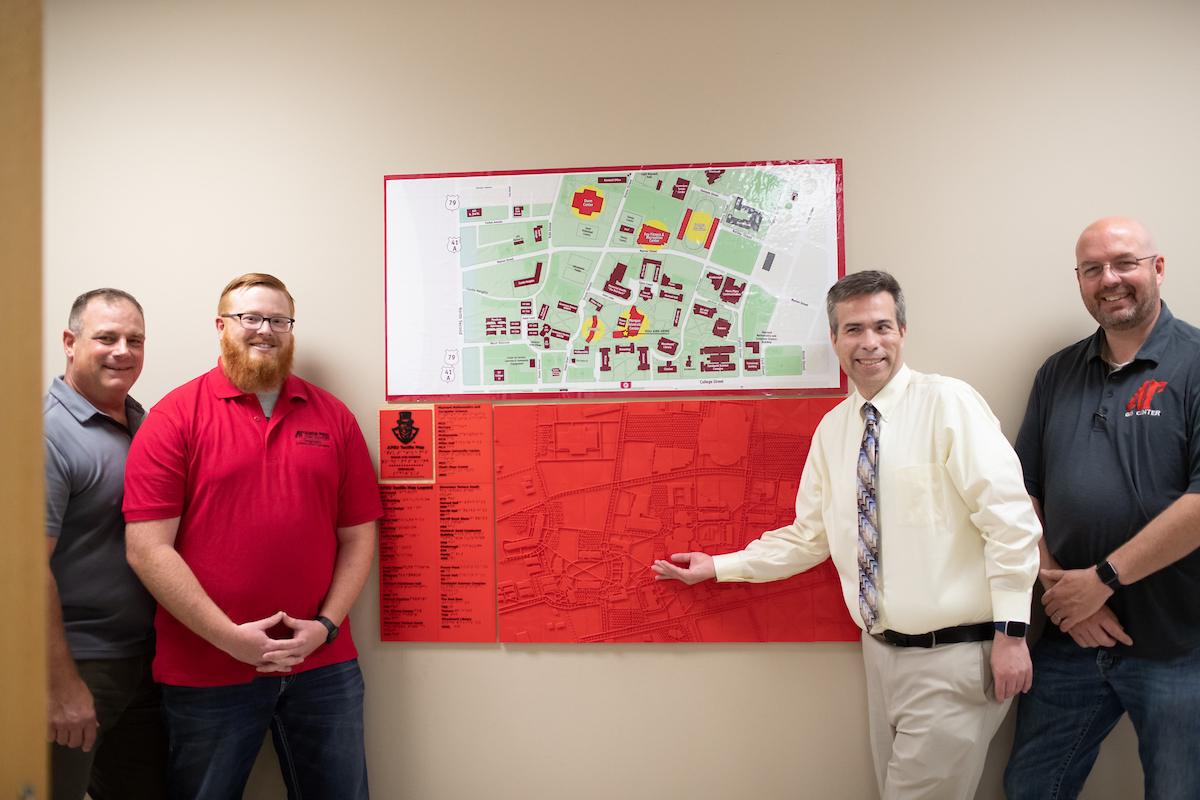
Instead of using Touch Mapper I started with going to Doug Catellier, the GIS Project Manager at the APSU GIS Center. Working at the GIS Center gives me access to maps and software that can bring all of the sidewalks and roads to life. Once I got the map, I put it into Adobe Illustrator to begin the tracing process. After 16+ hours of tracing the map, I exported the file as an SVG so I could place it into 3D CAD software to begin making the object. That’s where I ran into a massive problem.
When exporting the files there were many pieces missing. This made the file unusable. The line segments had an unknown amount of breaks. I felt like I had hit a wall that I couldn’t get over. It was quite a disappointment after so much time and effort. It was time to step back and look at how I would do this.
After searching again, I found that the file that you can transfer from Illustrator to CAD software (Fusion 360) is a DXF file. This will allow you to maintain accuracy within the files when transferring. Once I figured out my next workaround to get this task complete, it was time to crop the image…48 times…then remake the image in illustrator.
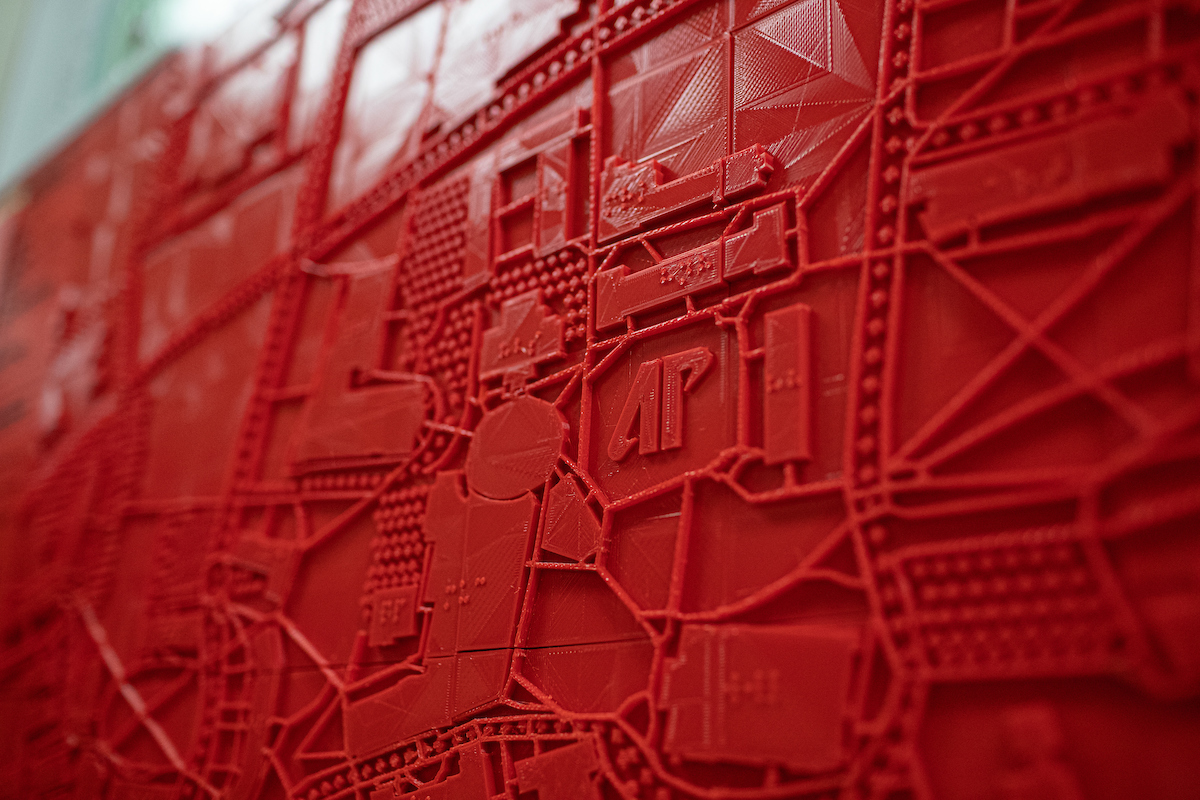
After cropping all of the images I began re-tracing one of the panels out. Then it was time to do a test run. I went all the way through with everything. IT WORKED! Once a test yielded a panel that worked, I went for it. My biggest setback was waiting for the Hatchbox PLA but it gave me the chance to get all of the files made.
Now I will be printing and placing the tiles until this project is complete. I cannot wait to send the finished product to Disability services and see what they think.
Leave A Comment
You must be logged in to post a comment.