
Georeferencing Tool – Rectifying an Image
Written: December 15, 2014 By: Kendra Kirksey
Georeferencing is the process of aligning geographic data to a known coordinate system.
Rectification is the process of applying a mathematical transformation to an image so that the result is an image that could be used as a base map.
Control Points are one of various locations on a paper or digital map that has known coordinates and is used to transform another dataset—spatially coincident but in a different coordinate system—into the coordinate system of the control point.
Purpose: The “Georeference Tool” gives maps without spatial relationship a reference to base the new map on and use it to replace the old map to better represent you data.
Items Needed:
- Base map
- .jpg, or .tiff of a Historical map
- ArcMap program
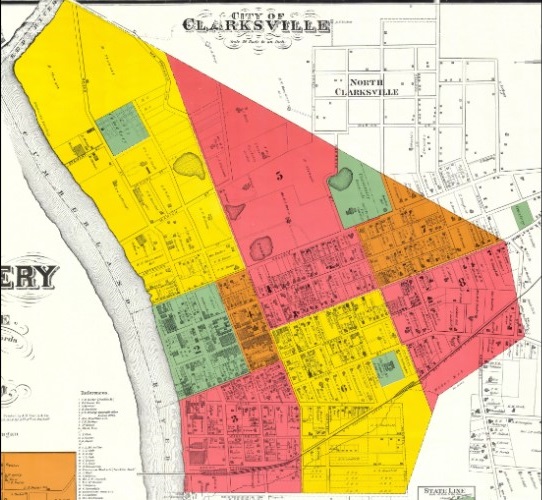
Step One: Obtain an historical map.
Save the new desired map to a work folder and name it accordingly. My images name is “MC 1877 Map Clarksville”. This image should be in .tiff, or .jpg. format to be read in Arc GIS.
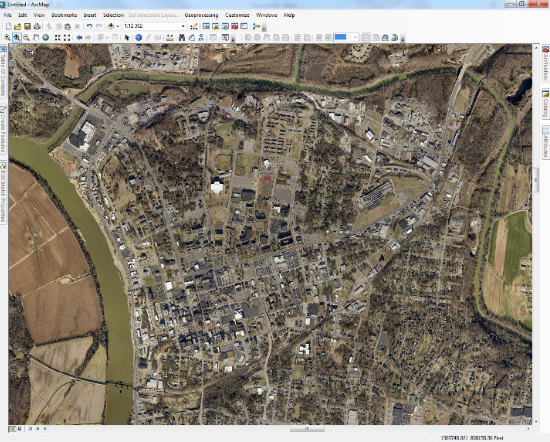
Step Two: Add in and adjust your base map.
To begin, open ArcMap, and when the “Getting Started” menu opens, click “Cancel”. To add your base map, on the toolbar click “Add Data (click arrow) → Add Basemap→ Imagery with Labels” Do that process again but in the Basemap option add “Streets” to ArcMap. Now, use the “Zoom In”, “Zoom Out” and “Pan” tool to adjust your map to the desired area of your historical map. Any base map used in this process should already have a spatial relationship.
Step Three: Add your historical map to ArcMap and add the Georeferencing tool to your toolbar.
Add the Georeferencing tool to your toolbar. Click “Customize→ Toolbars→ Georeferencing” (Figure 1). To add your historical map into ArcMap, click “Add Data (click the plus sign) and route to your work folder, click and add your historical map. An “Unknown Spatial Reference” message will appear, click “OK” (Figure 2). The next steps will add a spatial reference to the historical map. At this time your image is not visible on the screen, it is at a (0, 0) coordinate system because of the lack of a spatial relationship. Select your historical map in the georeferencing toolbar box (Figure 3). Click “Georeferencing→Fit to Display” (Figure 4). Your historical map should appear to display and may be slightly lined up with your base map.
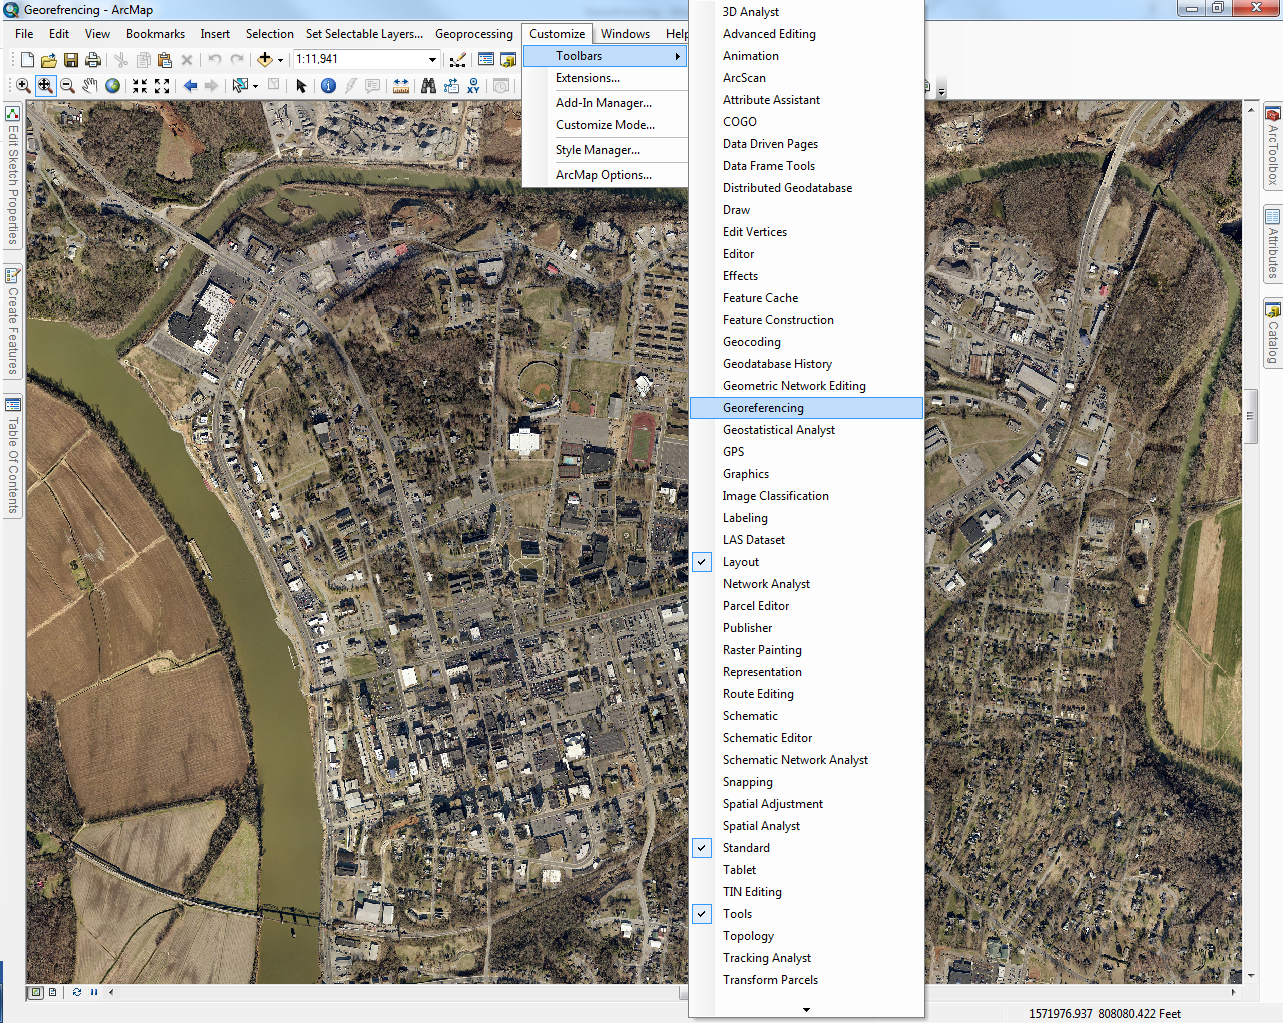

Figure 1 Figure 2
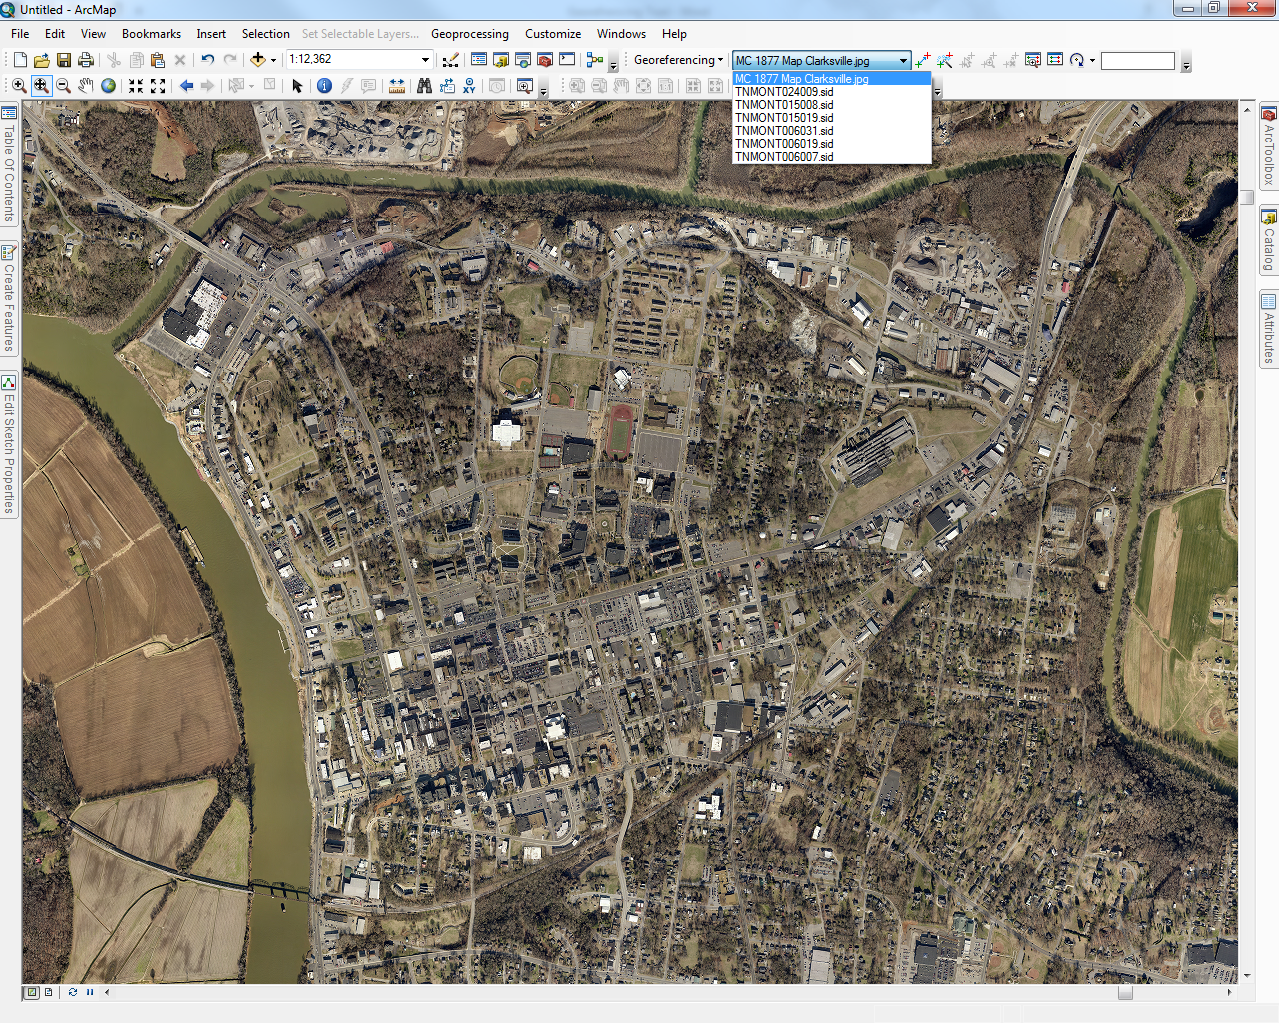
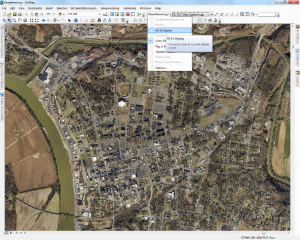
Figure 3 Figure 4
Step Four: Rectify your image by creating control points from the georeferencing toolbar.
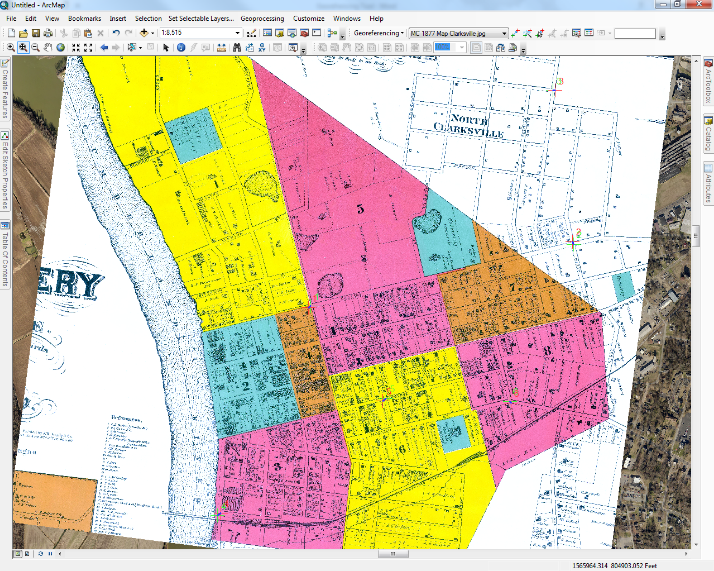
Before:
Tips on creating control points:
- Create at least four control points.
- Evenly space your control points over the whole map.
- Create control points on obvious features such as, building corners and street intersections that are accessible on both maps.
- Always click the obvious feature on the historical map first, then the same exact location on base map.
For an example:
Start by adding control points to your map. On your georeferencing toolbar click “Add Control Points” (Figure 1). Control points will allow your historical image to shift, warp and stretch in order to fit you base map. In this example I am using my fourth control point. My choice of obvious features is the corner of Farris St. & Drane St. In the “Table of Contents” turn off your historical map by clicking in the box next to your historical maps name (Figure 2). To finish creating your first control point click on the same obvious feature on your base map that you selected on your historical map. Turn your historical map back on and notice how your two maps lined up where you created your control point. Repeat step four until you have four or more control points on your historical map (Figure 3). To delete a control point on the georeference toolbar click “Select Link” , click on the control point you want to delete, then click, “Delete Link” .
Things you may need to know about ArcMap and the software:
The globe on the bottom right of screen suggests the map is loading, so if you are zooming in and out and shifting the map around when the page is finished loading the spinning globe will stop spinning.
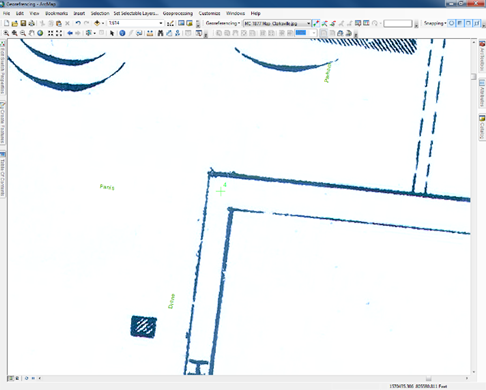
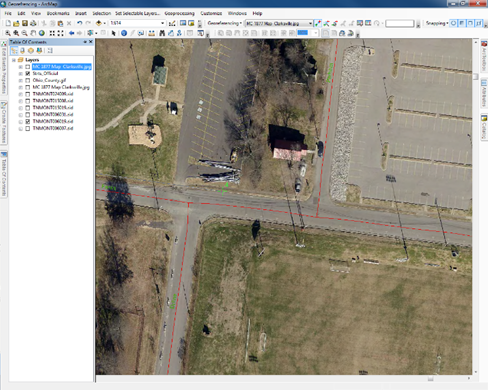
Figure 1 Figure 2
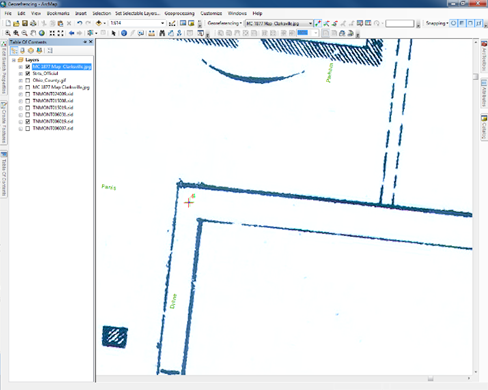
Figure 3
Step Five: Save your image and add a spatial relationship to your historic map.
To save the points created on this map Click “View Link Table” on the Georeferencing toolbar. The “Link” table will open. Notice your “Total RMS Error”. For a better quality map the Root Mean Square Error should be no more than 20. If your RMS Error is high look at the column under “Residual”. Click, and delete the points with the highest residual errors. Don’t forget to replace each deleted control points. Save your points to your work folder and exit out of the “Link” table. In your georeference toolbar Click “Georeferencing→ Update Georeferencing”. This will add the reference to your historical map and save your edits.
After:
Happy Clicking
Leave A Comment
You must be logged in to post a comment.